
Project One
Introduction and Learning Objective
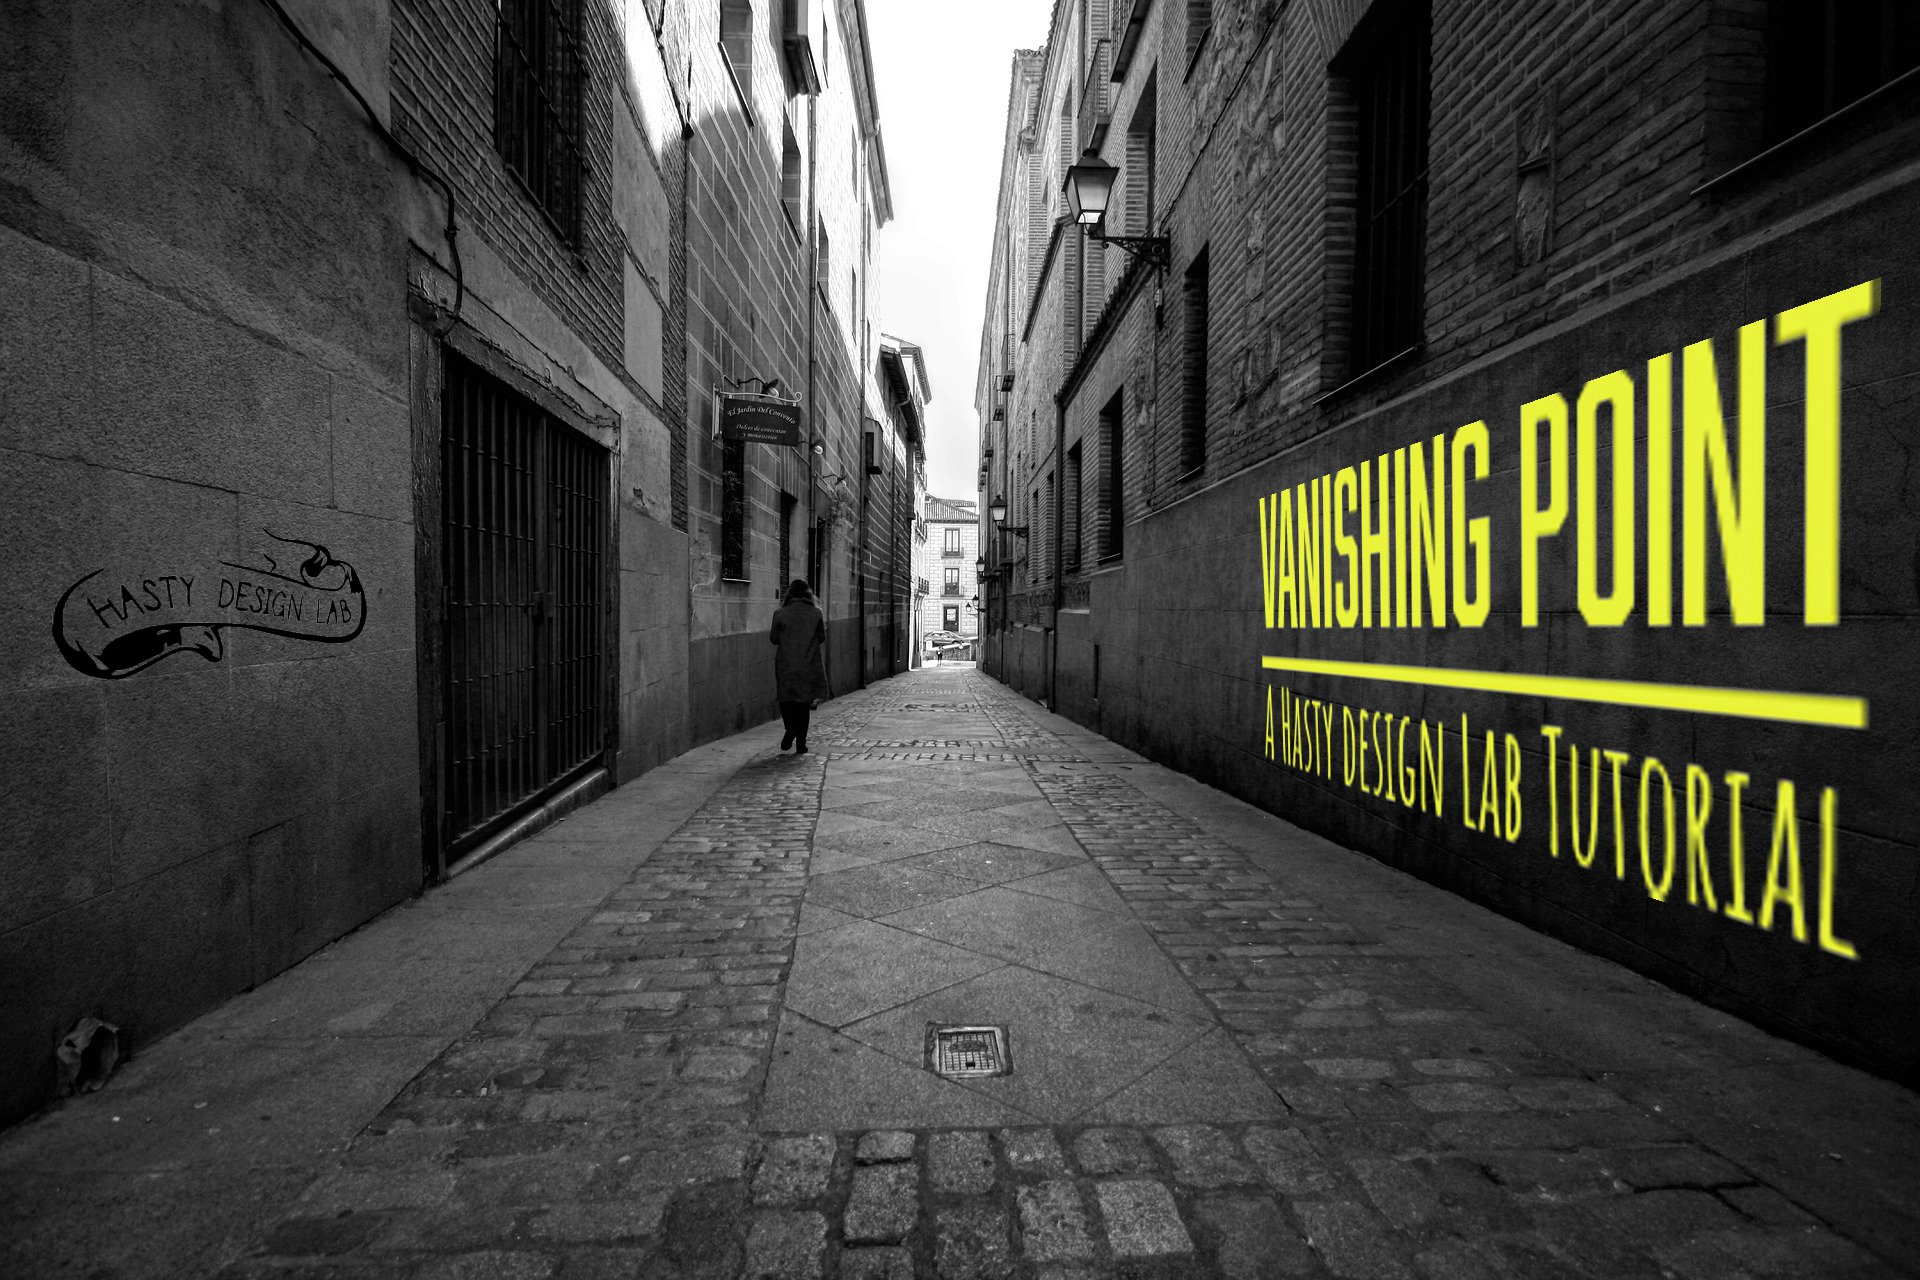
Image chosen is intended to enhance the understanding of editing and creating digitally in the field of perspective. The Image itself is actually the journey of the rest of the project as the final project is learning how to create the first project!
Original File Links & Licensing
original Image by: damarcoello
https://pixabay.com/photos/madrid-austrias-black-and-white-3993066/
Free for commercial use
No attribution requiredLogo by Zach Hasty(self)
Font for Text
Abolition Regular <link rel="stylesheet" href="https://use.typekit.net/xeb4zzv.css">
Amatic SC Bold <link rel="stylesheet" href="https://use.typekit.net/xeb4zzv.css">
Techniques
Raster techniques
change image size
adjust brightness
filter vanishing point
add object to layer with filter
change texture of object.
add second created vector file (logo) and blend into wall.
Vector techniques
create rectangle
change color of rectangle
create top text
create bottom text
create outlines of text
combine paths with rectangle
bring in drawing of logo
sketch overlay of logo
remove debris of sketch overlay and adjust paths
select logo elements
export selection as asset.
Reflection
I think this image turned out well. the hallway created follows visual principles of vanishing point and creates a great opportunity to clearly demonstrate a 3D effect. If I had more time I would have liked to take an image of some rail-cars and demonstrated how to do more planes, however keeping in mind the video can only be 90 seconds it will have to be short and sweet.